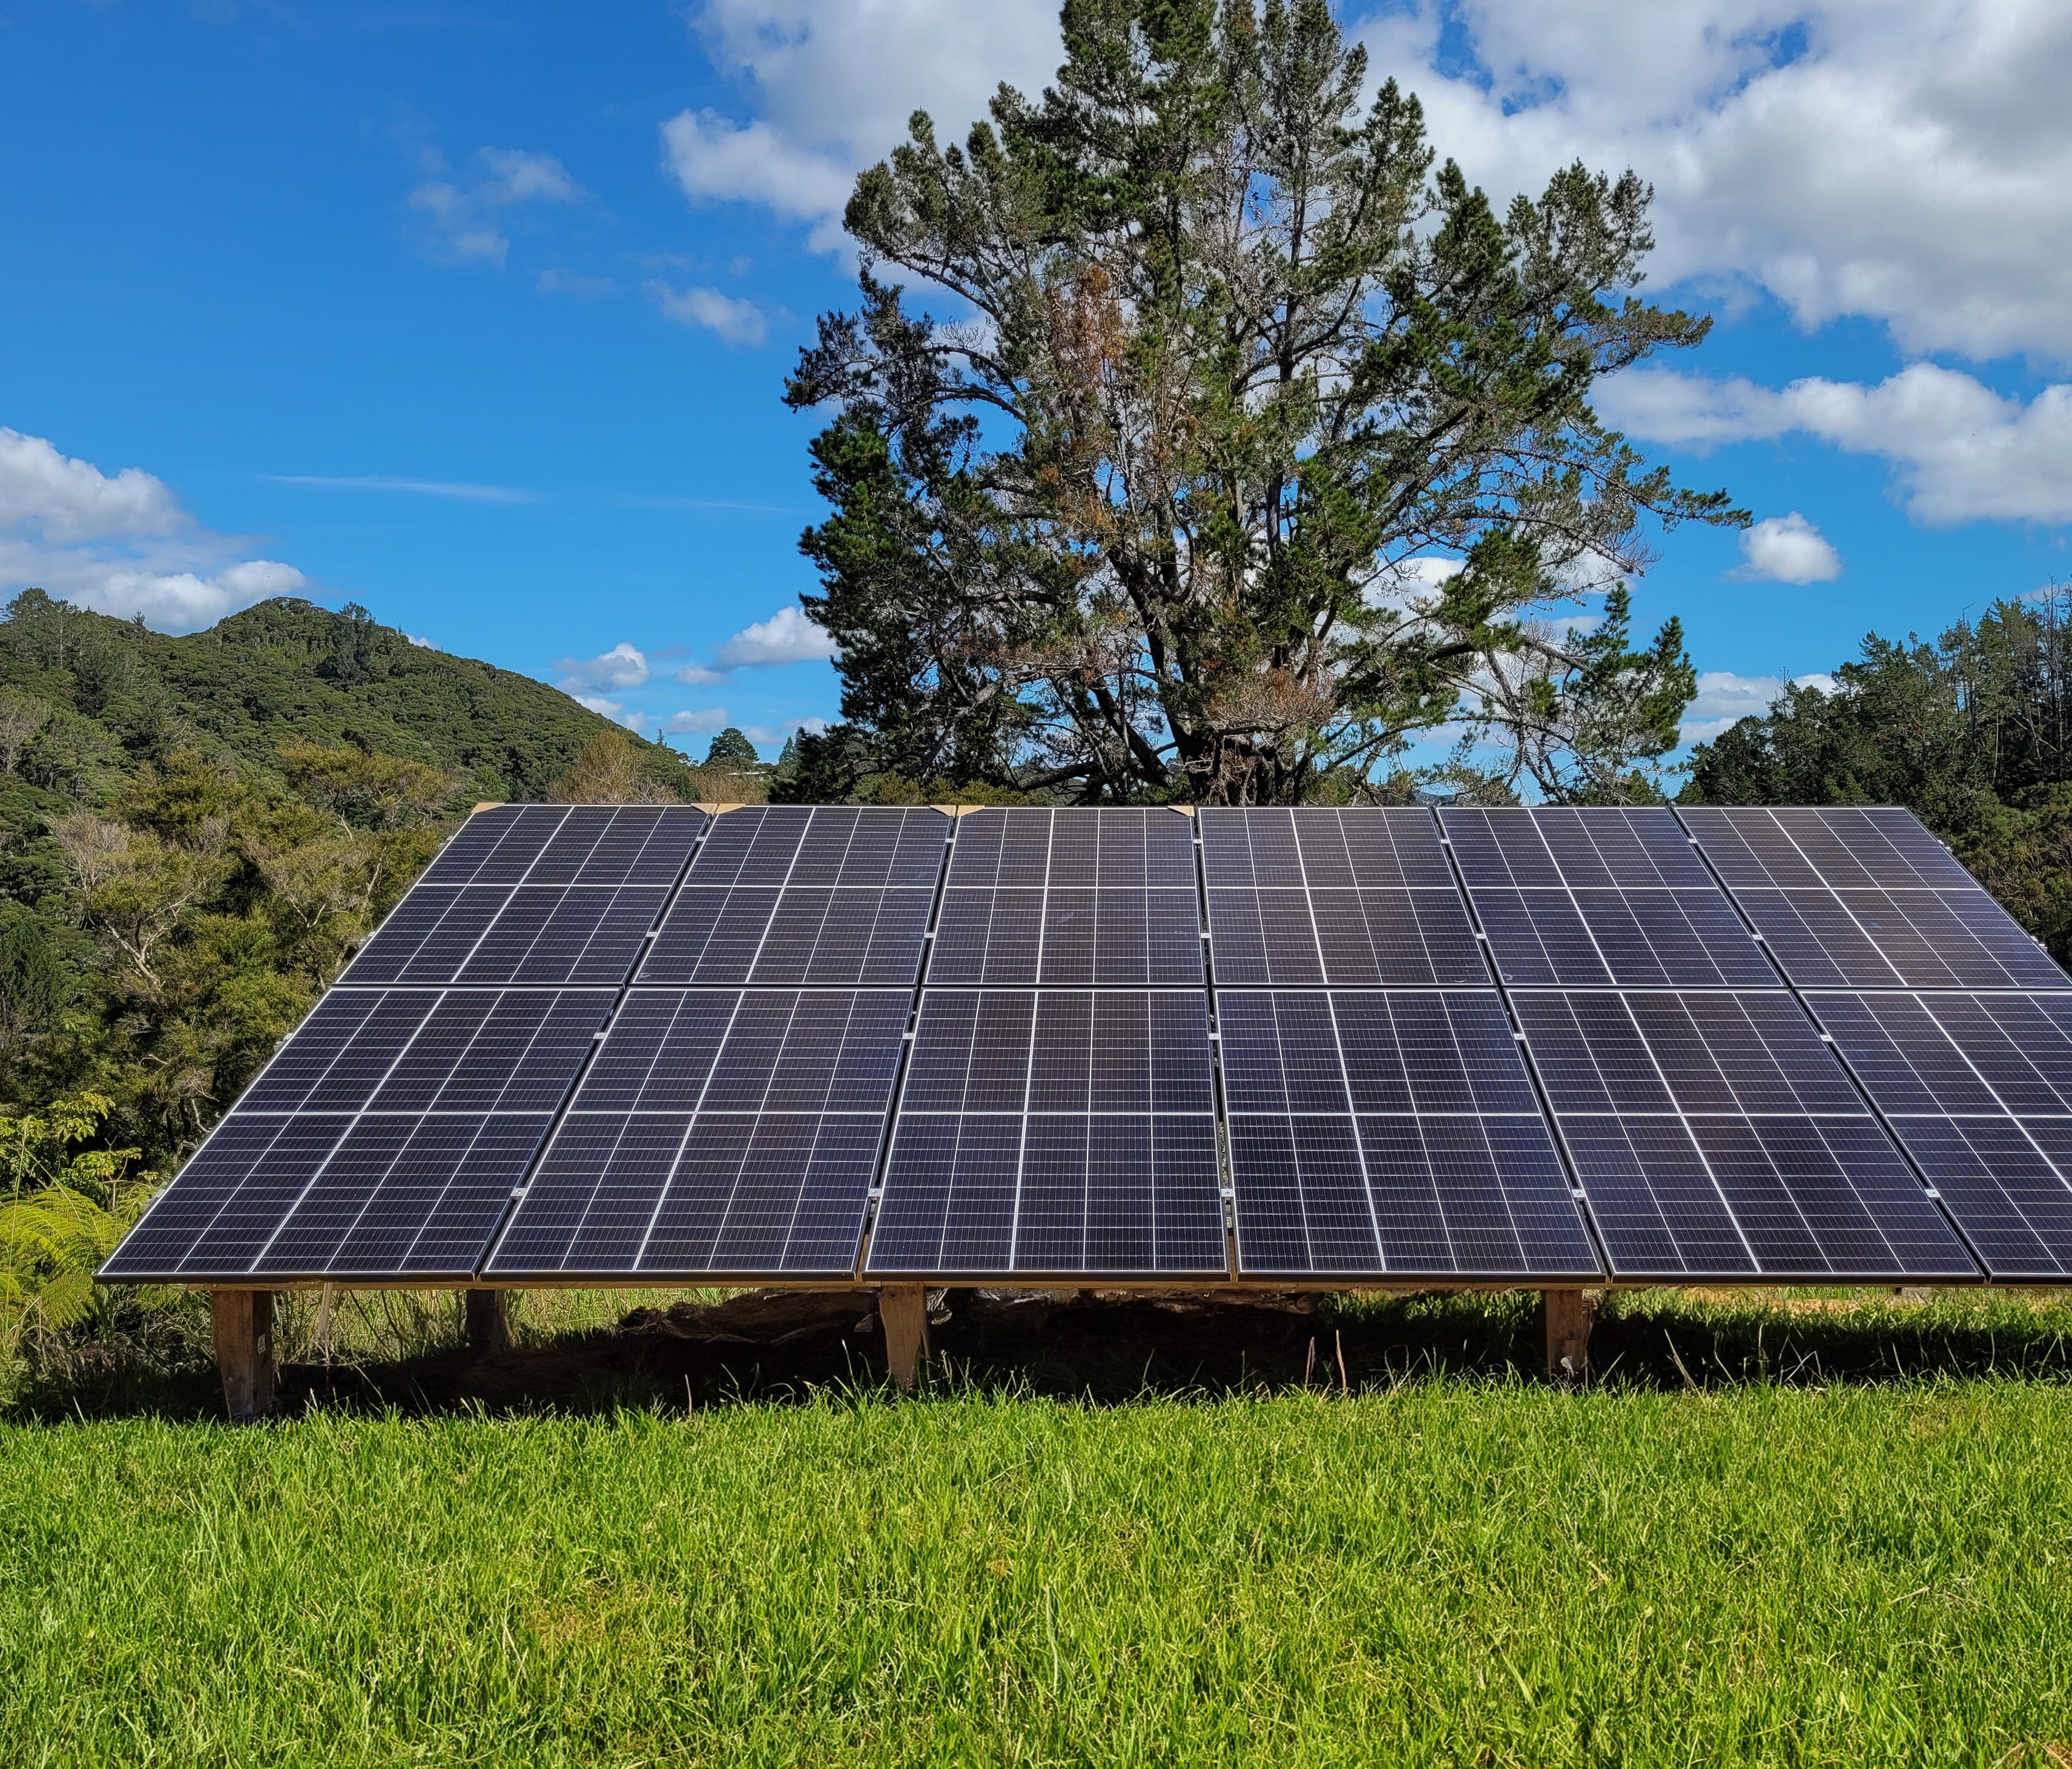
The Tiny House Kit
The Tiny House Solar Kit is a complete DIY off-grid solar kit, designed for tiny house owners needing to optimise power with space restraints. Tested by our solar experts and customers, it's proven to be the ultimate choice for tiny homes, with enough solar panels for tiny house owners to get the power they need.
Kit Contents, Specs, Manuals, and other Downloads can all be found in the yellow section below.
The Tiny House Kit Standard comes with a Standalone Inverter.
A Standalone Inverter has a standard 3-pin plug point, but requires a separate charge controller(incl.), and a battery charger(not incl.) for generator input.
Change ‘upgrade’ selection above to see differences. Full kit contents are below.
Finance available for kits. Click here to learn more.
What can the Tiny House Kit run?
Below is an example of one day's total power usage, if you're getting at least 3 sun hours - this is ~4,800Wh of energy per day and can be expected for >80% of the year. (Learn more.) These items are a guide to what you might run over one day, and they can be swapped out to suit your needs within the generation estimate. (Read more.) We highly recommend having a back-up generator with these kits if you won't be able to conserve power during low-sun periods.
(Need a jargon breakdown?)
25W Phone Charger
6 hours a day (150wh)50W Fan
4 hours a day (200wh)Efficient Fridge/Freezer
24 hours a day (1000wh)1800W Kettle
14 minutes a day (300wh)20W Wireless Router
24 hours a day (480wh)100W Television
2 hours a day (200wh)25W Lighting
6 hours a day (150wh)300W Water Pump
2 hours a day (600wh)1500W Coffee Maker
4 minutes (70wh)1000W Microwave
10 minutes (170wh)Not sure how much power you need? Read this article to learn how to calculate your needs.
This example doesn't account for days when you may have to cut back on power use (or supplement with a generator) due to several days of poor weather preventing your batteries from fully recharging each day. Learn more here. Our kits should not be used for vital or life-supporting systems, and we recommend finding alternative solutions for Water/Space Heating, Cooking, or EV charging to maximise your budget - Why?
Not the right kit for you?
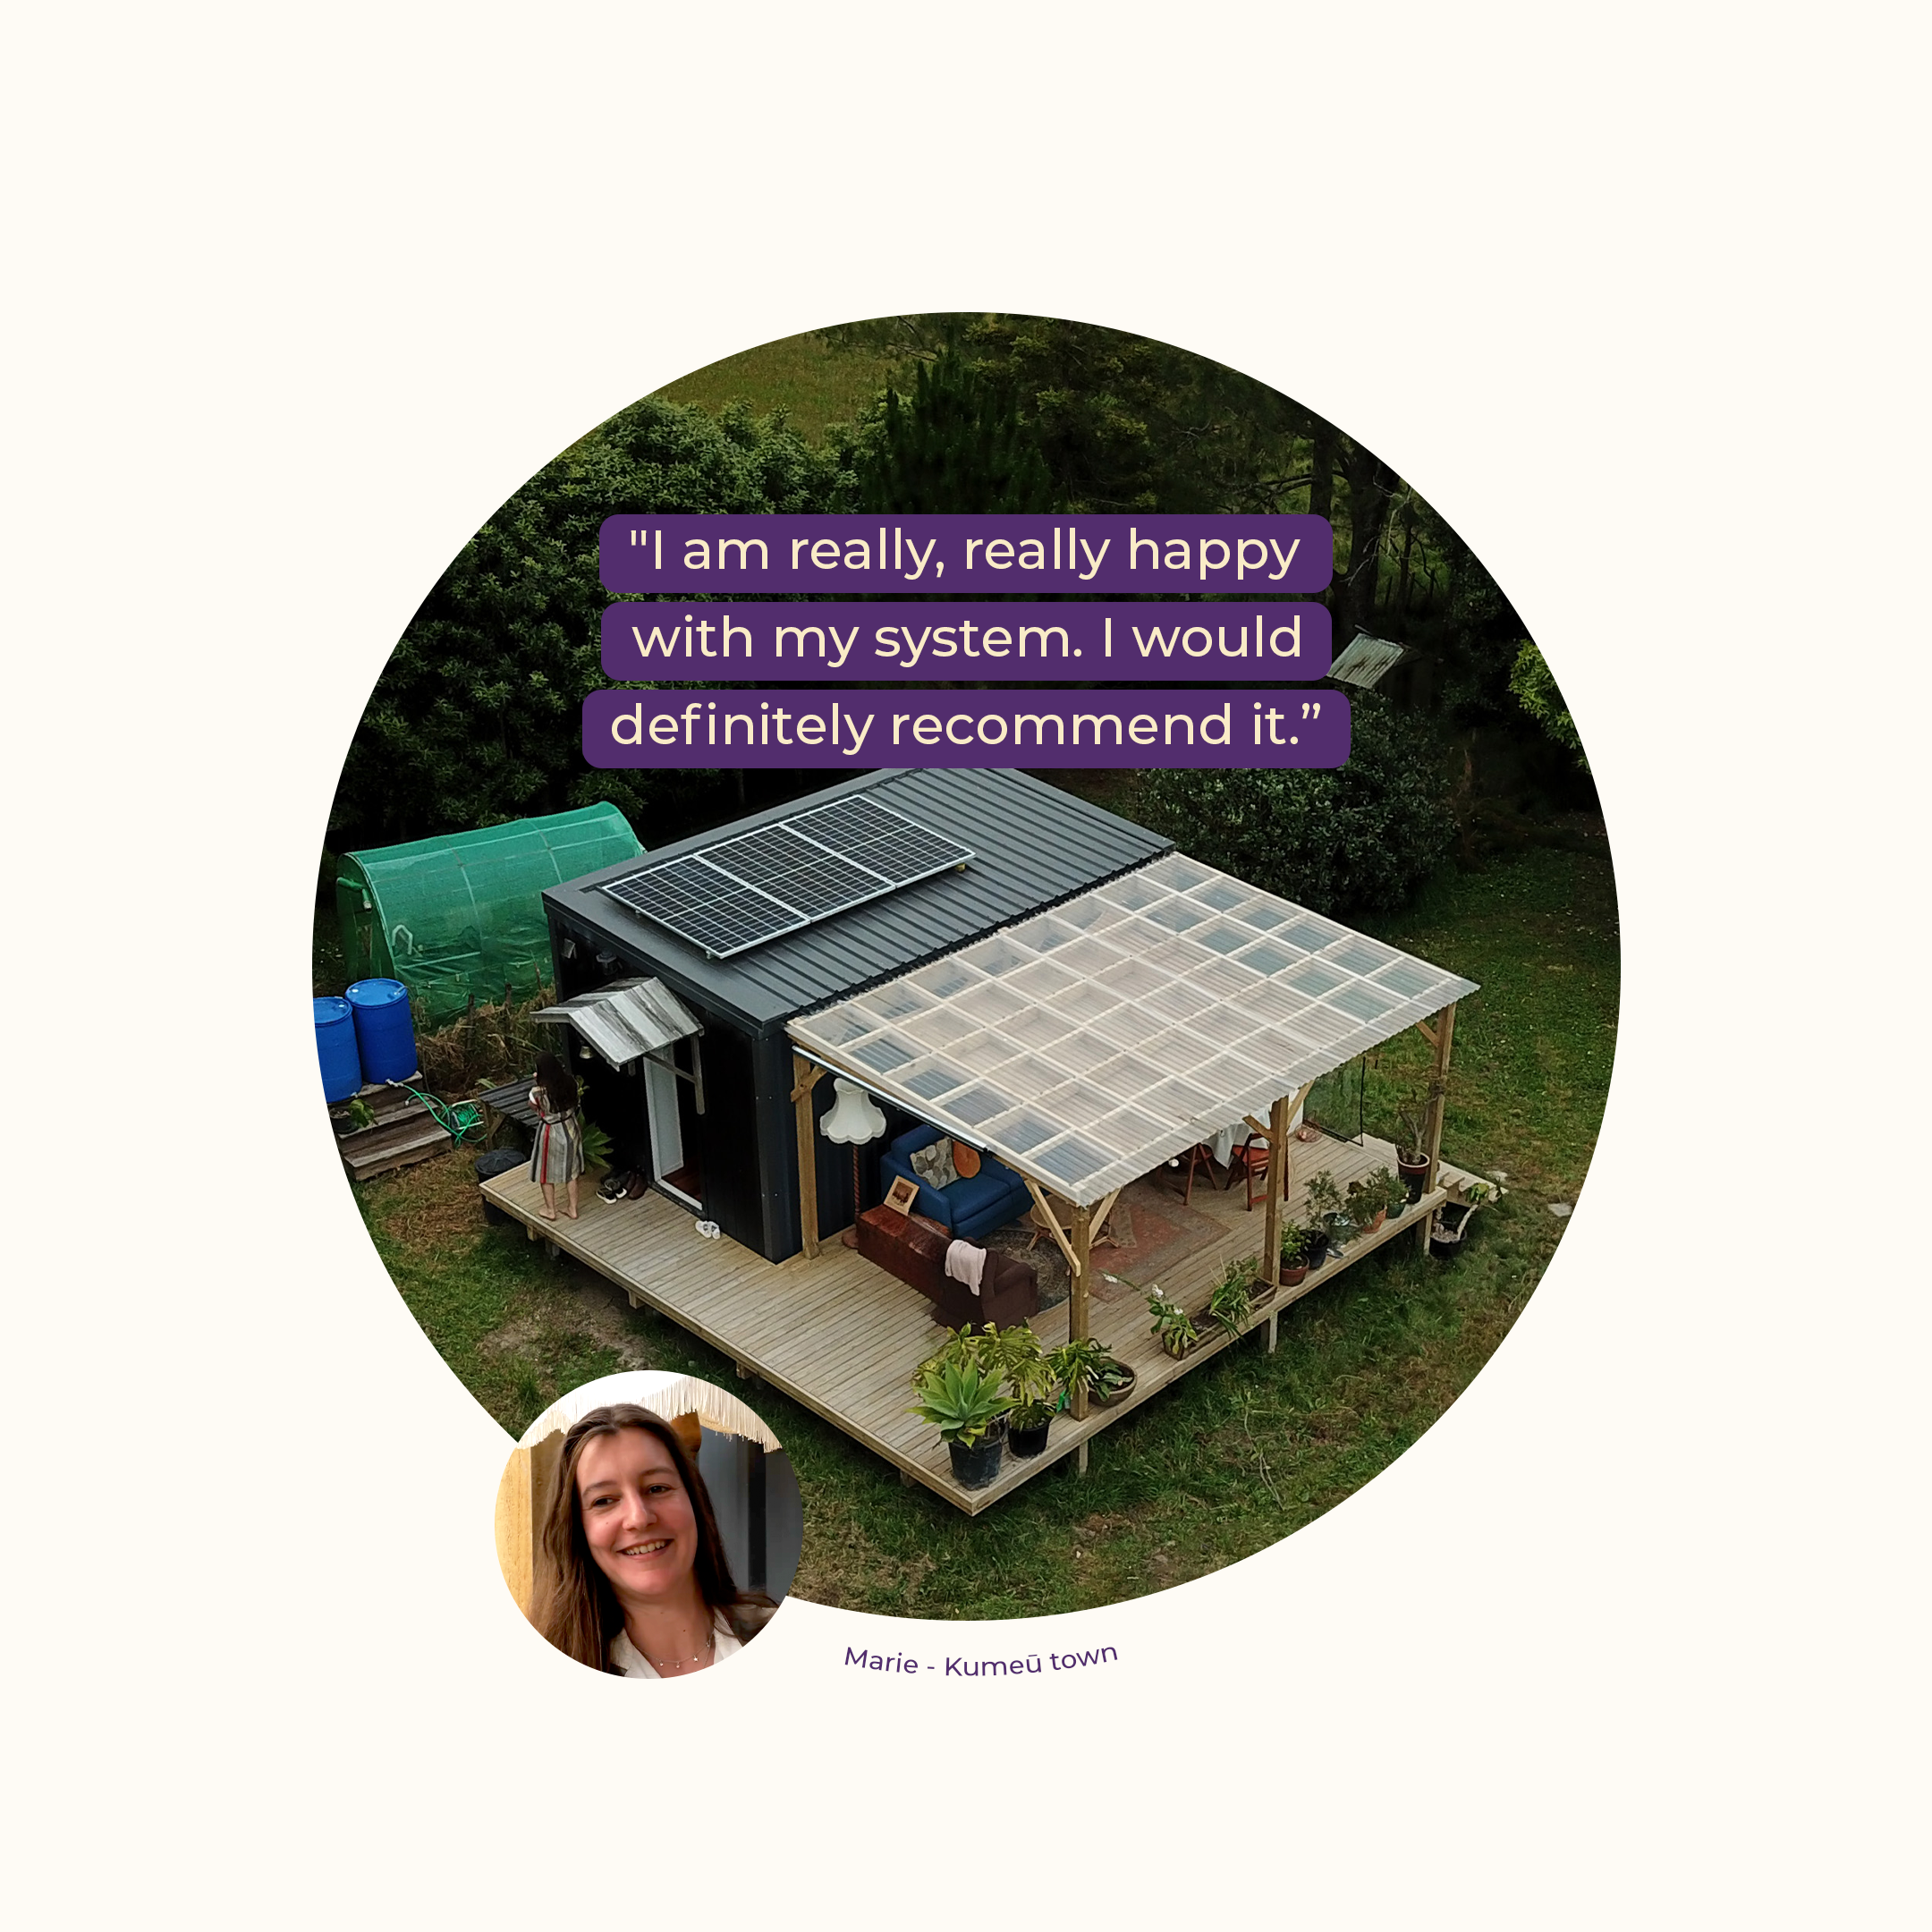
"We struck gold the day Scott found their website."
Watch this video: Customer Reviews
Includes everything you need to get up and running.
Change 'Upgrades' option at the top of the page to see different kit contents.
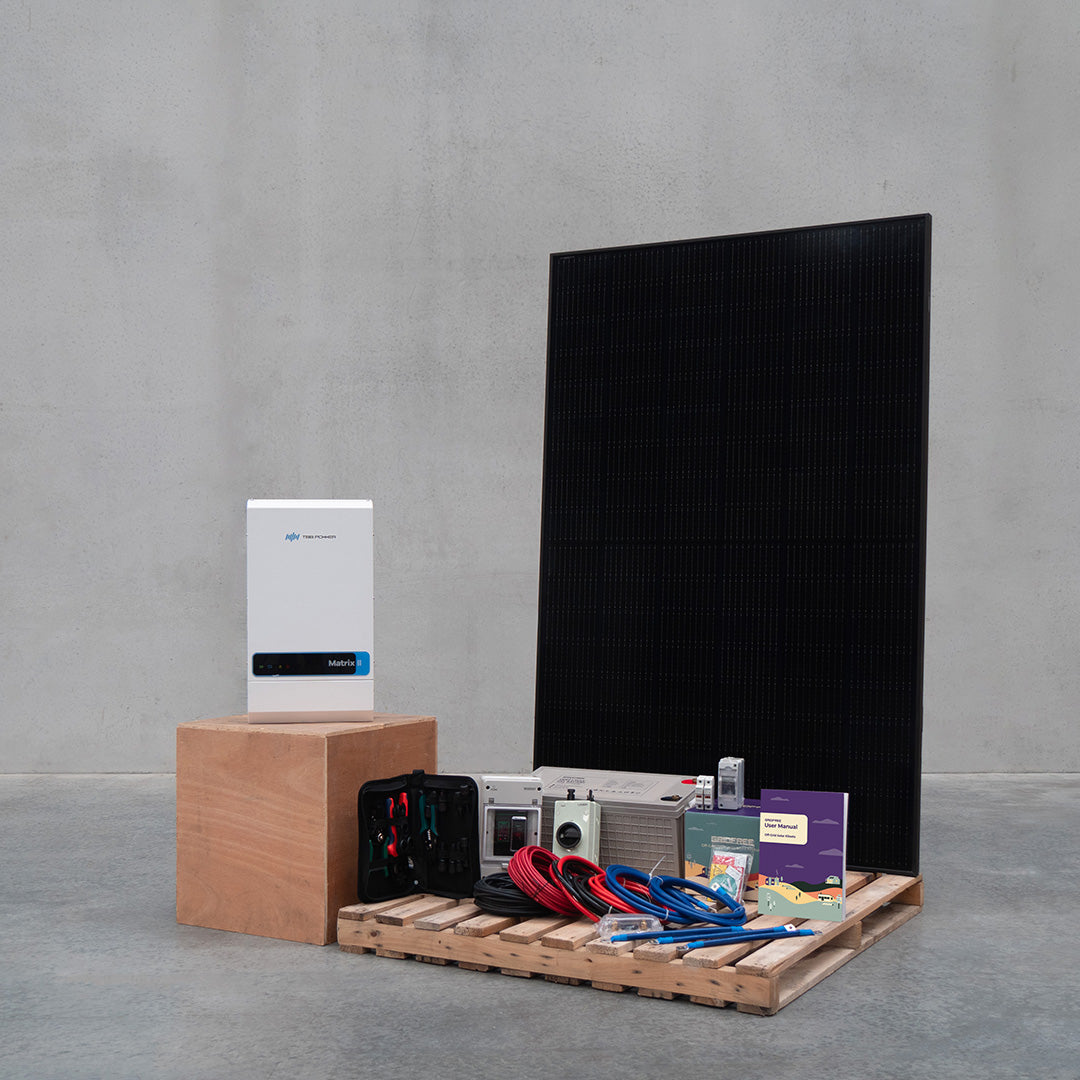
Standard Kit contains:
- 4x 400W+ TW Solar PERC Mono Half-Cell Full Black Solar Panels
- 2x 200Ah 12V Deep Cycle Gel Batteries - 24V battery bank
- 1x EPEVER 2000W 24V Pure Sine Wave Inverter (IPT2000-22)
- 1x EPEVER 60A MPPT Charge Controller (Tracer 6415AN)
- 1x 10m of 6mm2 PV Cable Pair (Red + Black)
- 1x 2m of 6mm2 PV Y-Branch Cable Pair
- 1x 3m of 16mm2 Pre-Crimped Cable Pair (Red + Black)
- 1x 3m of 25mm2 Pre-Crimped Cable Pair (Red + Black)
- 1x 30cm of 50mm2 Battery Link Cable
- 1x MCB Enclosure + 32A, 63A, 125A DC Circuit Breakers
- 2x 20A MC4 PV Inline Fuse
- Choice of Panel Mount Set + Instructions
- Kit Instruction Manual
- Lifetime Support
Hybrid Kit contains:
- 4x 400W+ TW Solar PERC Mono Half-Cell Full Black Solar Panels
- 2x 200Ah 12V Deep Cycle Gel Batteries - 24V battery bank
- 1x Growatt 2kW 24V Hybrid Inverter (SPF 2000TL HVM)
- 1x 10m of 6mm2 PV Cable Pair (Red + Black)
- 1x 2m of 6mm2 PV Y-Branch Pair (Red + Black)
- 1x 3m of 16mm2 Pre-Crimped Cable Pair (Red + Black)
- 1x 1m of 35mm2 Pre-Crimped Cable Pair (Red + Black)
- 1x 3m of 35mm2 Pre-Crimped Cable Pair (Red + Black)
- 1x 30cm of 50mm2 Battery Link Cable
- 1x MCB Enclosure + 32A DC Circuit Breaker
- 1x 125 MCCB
- 1x 20A MC4 PV Inline Fuse
- 1x PV Safety Sticker Set
- Choice of Panel Mount Set + Instructions
- Kit Instruction Manual
- Lifetime Support
DIY Lockable Cabinet:
A lockable cabinet to install and wire the components into.
Add $600 for just the cabinet
EPEVER Remote Monitoring Device:
For use with standalone inverter
MT75 - Epever Remote Monitor Add $68
Epever Wifi - Download the App and monitor your system remotely from your Phone Add $75
Growatt WIFI-F Monitoring Device:
For use with Hybrid inverter
Wifi-F is a plug and play monitoring device to help monitor the status of system. This device is installed on the hybrid inverter. Add $150
For any of the following upgrade options, please contact us prior to purchase, as they may require additional components.
Solar Panels:
Panels cannot be added without upgrading the charge controller.
Add more solar panels, sets of 2: Add $500 per panel
Batteries:
Add Gel Batteries, sets of 2 (parallel connection): $750 per battery
- TW Solar 400W PERC Mono Black on Black Half-Cell Datasheet
- GridFree 200Ah 12V Deep Cycle Battery Datasheet
- EPEVER Ipower 2000W Inverter Datasheet
- EPEVER 60A Controller Manual
- Installation Instructions + Wiring Diagram
- Installation Instructions + Wiring Diagram - Hybrid
- Chiko Roof Mount Installation Instructions
- Chiko Ground Mount Installation Instructions
- Chiko Corrugated Mount Installation Instructions
- Chiko Tilt Mount Installation Instructions
- Growatt 2kW TL HVM Hybrid Inverter Manual
- Gel Battery Warranty
Tiny House Kit Specifications
Total Weight: 230 kg
Dimensions
Daily Expected Output
Inverter Output
Storage Capacity
Charge Controller
Choose your inverter
Standalone or Hybrid
Standalone (Standard)
The standalone inverter acts only as an inverter, requiring a separate charge controller (incl.) and optional battery charger (for generator input) to work in an off-grid system. This battery charger will need to be manually started each time it’s needed. The standalone inverter comes with a standard 3-pin outlet for immediate power use, and only requires an electrician if it will be wired into a switchboard.
More infoHybrid (Upgrade)
The hybrid inverter is a more expensive unit. It combines the 3 components in one, and this allows you to connect a generator to easily charge your batteries. However, it lacks a 3-pin outlet and must be wired into a switchboard, so an electrician is required, resulting in a higher installation cost. A hybrid unit is required for Lithium batteries.
more infoHow to choose
Solar Panel Mounts
Universal
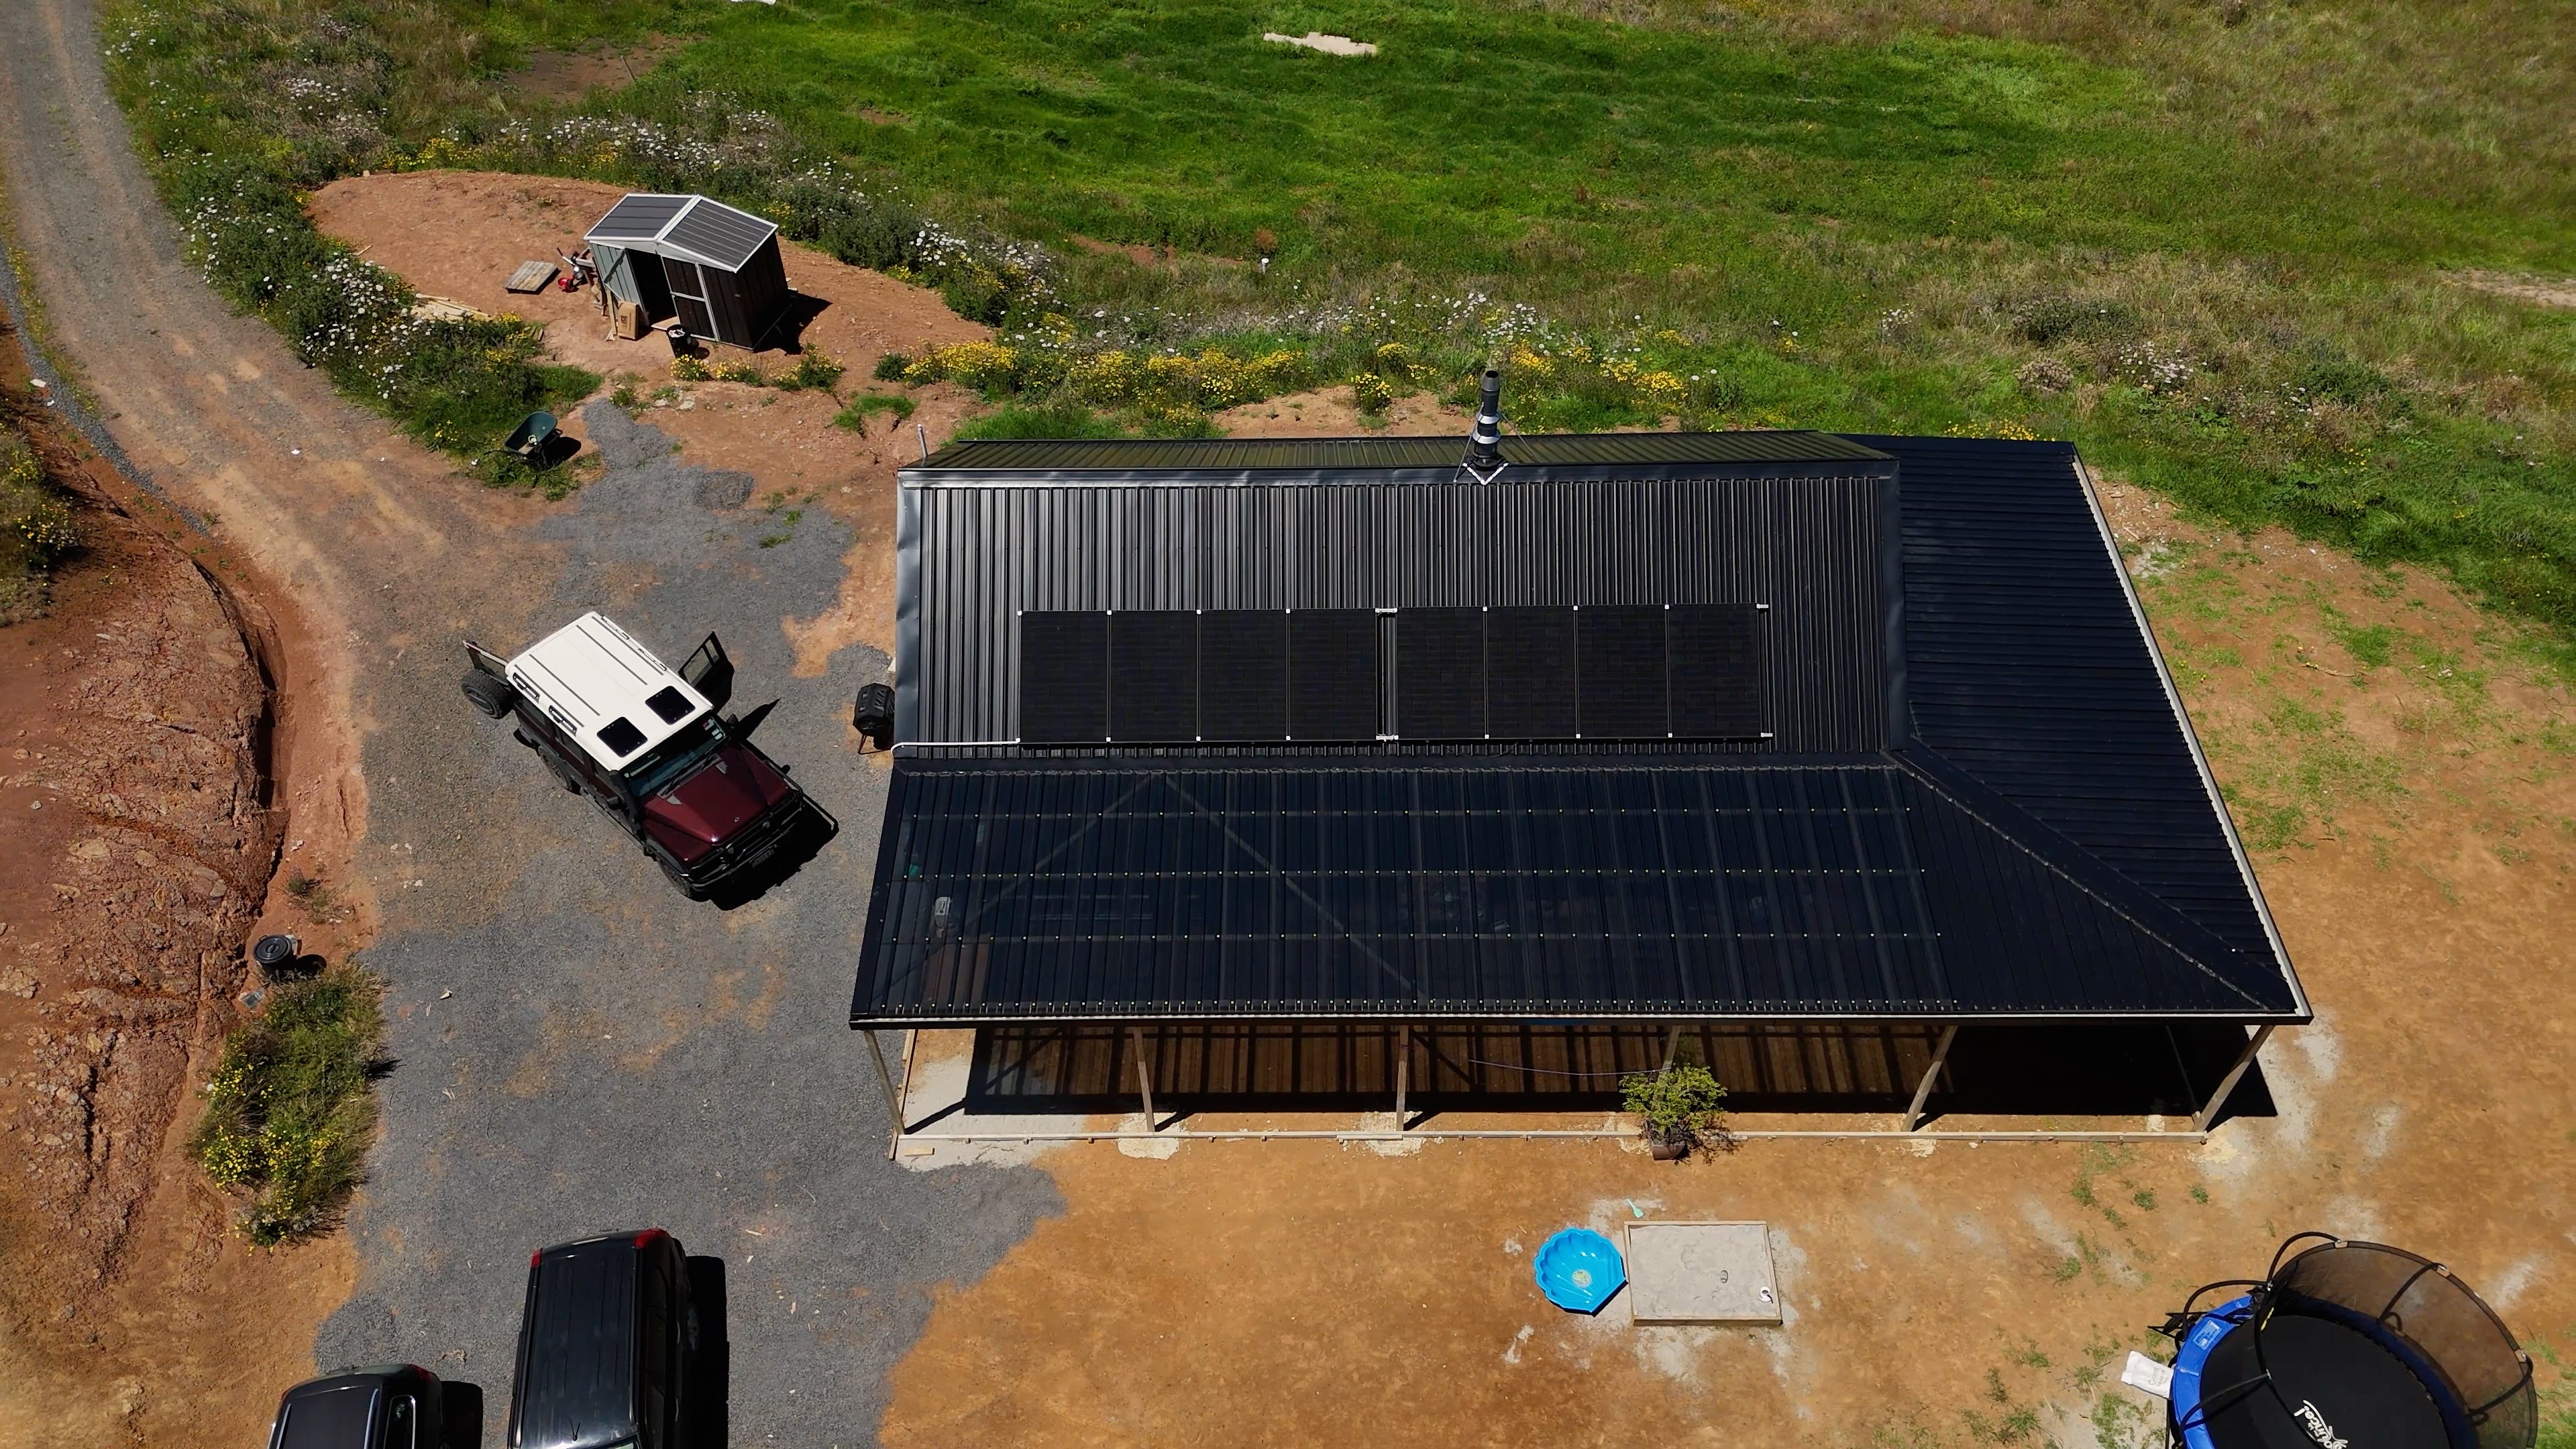
The Universal Roof Mount allows you to mount your panels flat on any type of roof along a pair of rails. The rails are attached to the roof with L-shaped brackets, and the panels are clamped to the rails, making it much easier to mount four or more panels on your roof.
Corrugated
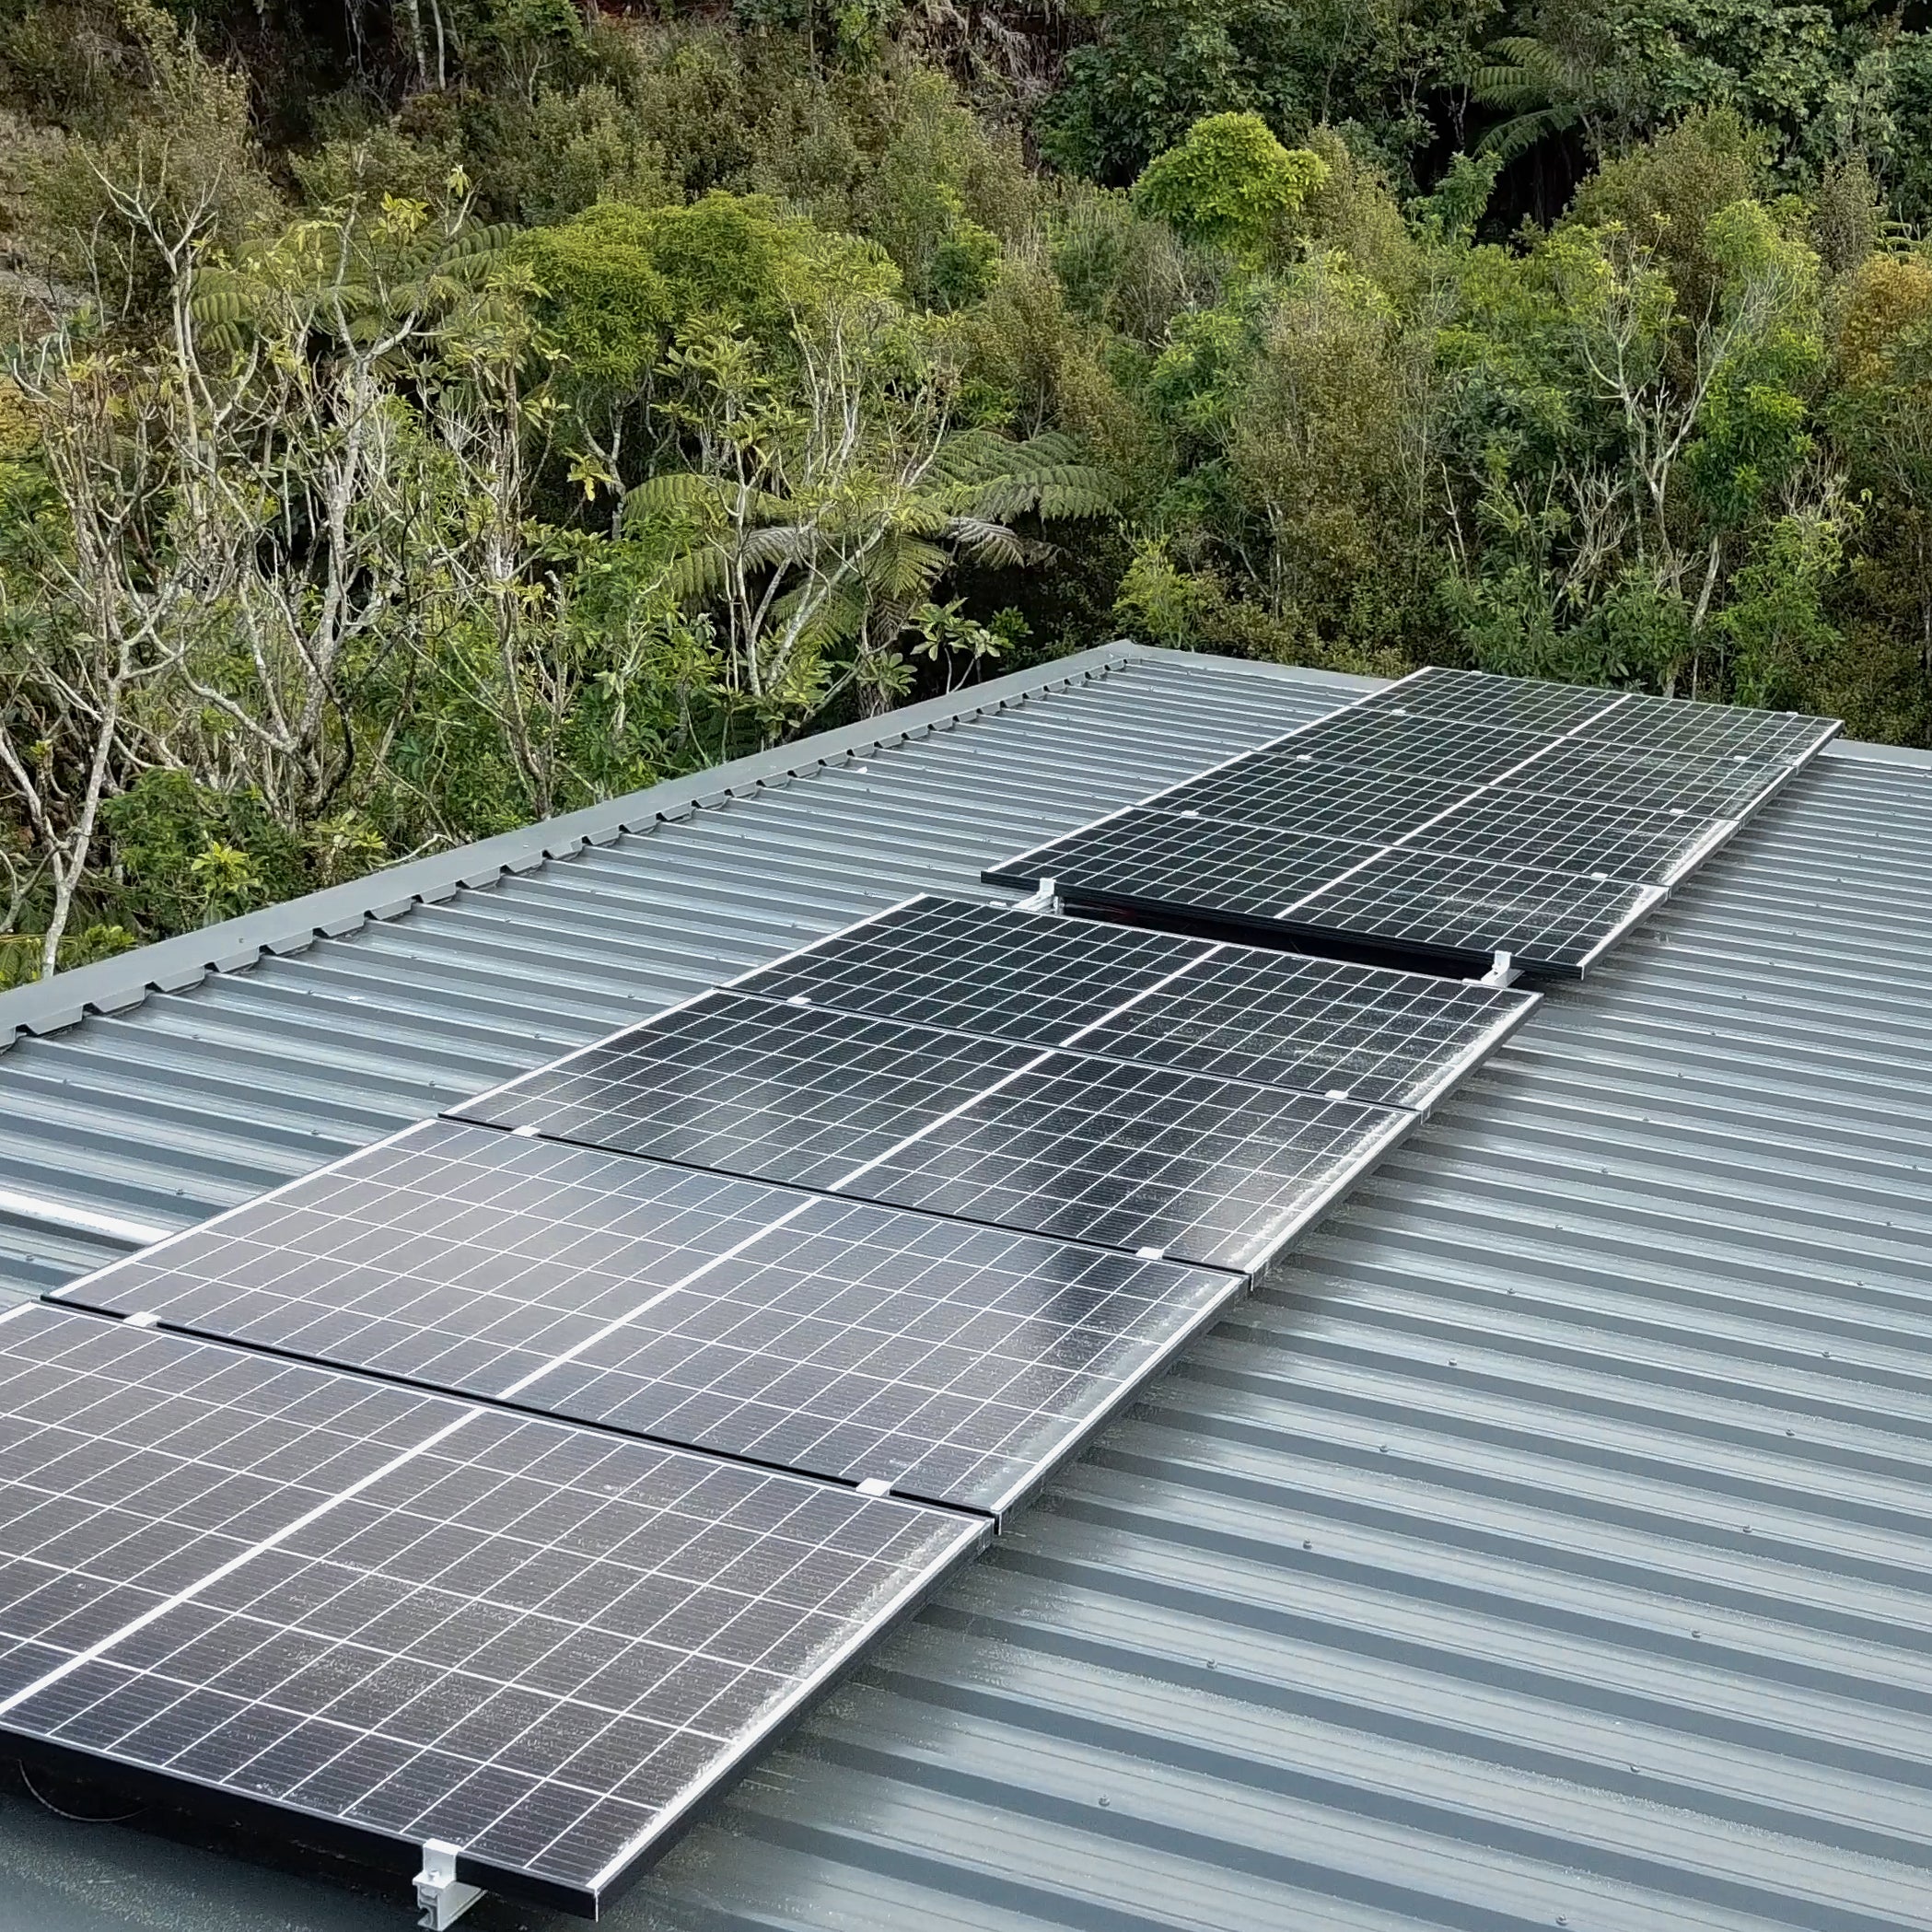
The Corrugated Iron Roof mount performs similarly to the universal roof mount, but it is a rail-free option that sits in the grooves of corrugated iron. The mounts are secured to the roof and then the panels are clamped onto them directly instead of rails.
Ground
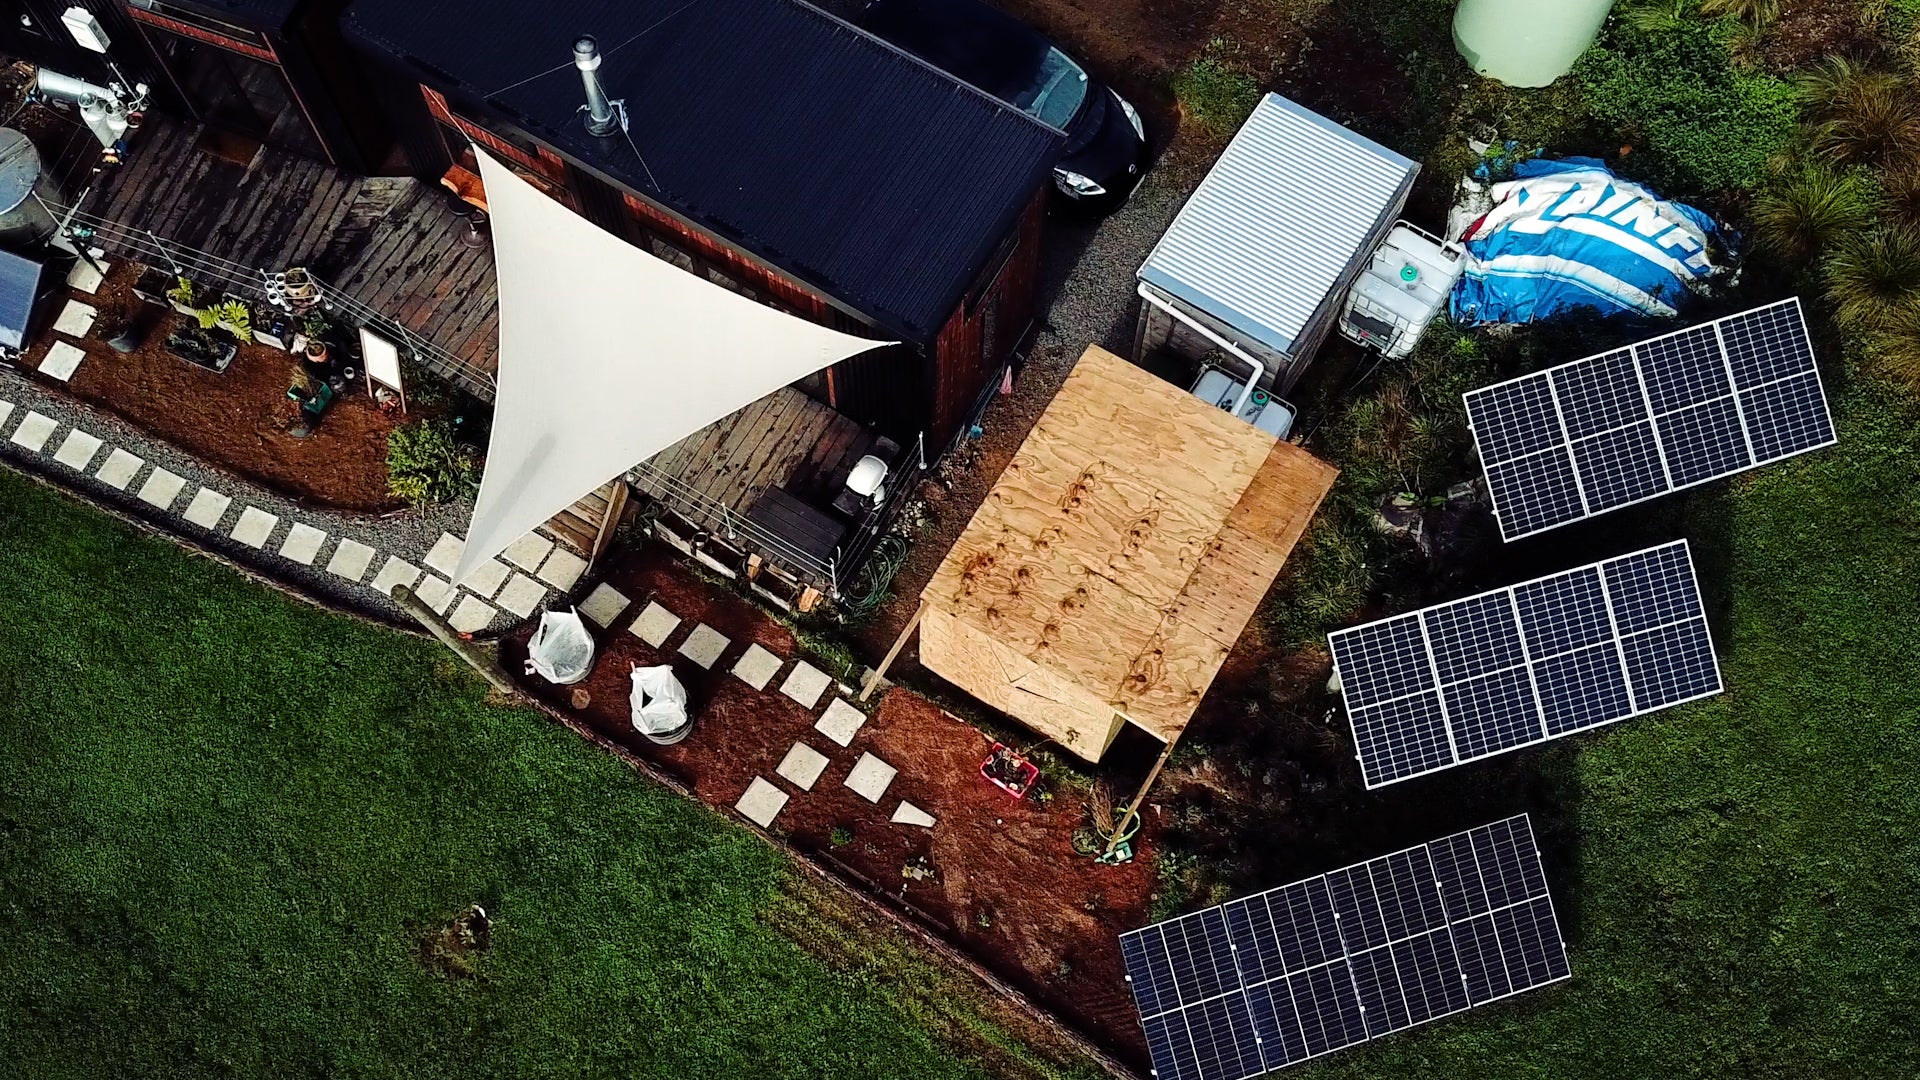
The Ground mount allows you to mount your panels on the ground along a pair of rails attached to a triangular frame, and the panels are clamped to the rails. The frame is mounted on something secured in the ground, and the angle can only be adjusted during the install.
Tilt
The Tilt mount allows you to mount your panels on a flat/low pitch roof at an angle to maximise solar energy, adjustable by up to 15 degrees after the initial install. The rails are attached to a triangular frame mounted to the roof, and the panels are clamped to the rails.
How many solar panels for tiny house power?
For 1-2 people living in a tiny house in New Zealand, 4 390W PERC Mono Solar Panels should give you enough power throughout the year, even the less sunny days of a New Zealand winter. You can always upgrade to a hybrid inverter to allow for generator input as a back-up.
Trina Perc Mono panels are excellent solar panels for tiny house installs, and are our panel of choice in all kits. They use the latest technology to ensure their panels are as efficient as possible, meaning they produce 330W+ from a size where most panels only produce 270W at the best of times.
All our kits come with our 200Ah 12V battery, specifically designed for solar usage - no trickle charging needed. We are so confident in this battery we offer our warranty based on a 50% Depth of Discharge (DoD), while most companies only warranty a 20% DoD.