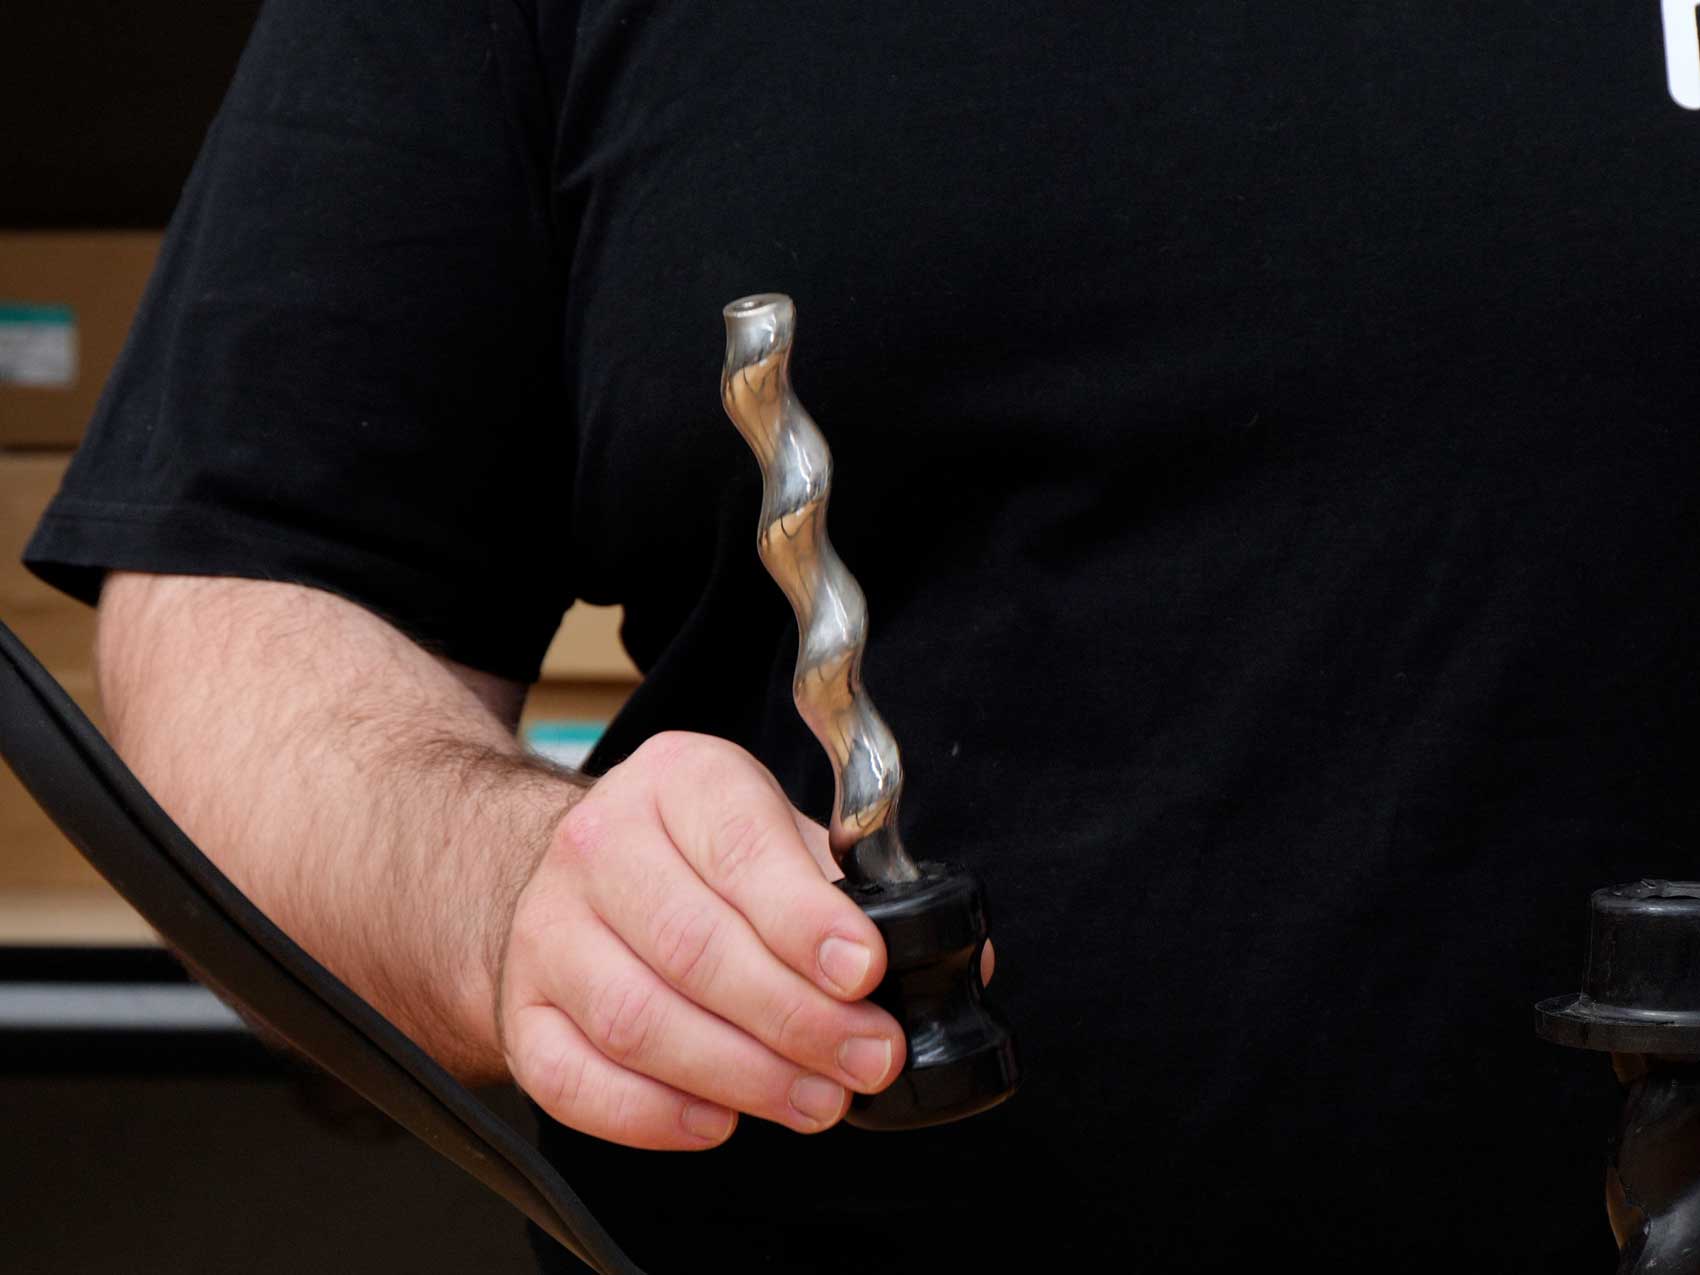
The screw or helical rotor is the part of the pump that actually pushes the water. Over time it will eventually wear down, you'll notice this when you're moving significantly less water. In higher pressure systems you'll notice this a lot quicker.
To do this you will need:
- 10mm socket
- Philips head screwdriver
- 13mm and a 14mm spanner
- 3mm Allen key
- A spare screw to replace it with. Each kit comes with one by default
Step one.
First, make sure your pump is off and completely disconnected from the power source.
Step two.

You can now lift it out of the reservoir - this must be done by lifting with a chain rope or cable that is attached to the dedicated fixture points on the pump.

Do not at any point pull on the power cable this can permanently damage the pump.

Step three.
So now that you've pulled the pump out of the water, you can take off the top of it by unscrewing the top four bolts with a 10mm socket set.

Now that you've undone those bolts we can take the top off.
Step four.
Now we're going to take off the cable housing and the metal grate. You're going to need a Philips head screwdriver for this. Carefully unscrew all the screws that are holding the cable housing and the grate in place.


The cable housing just slides up.

Step five.
Now we're going to take off the main metal housing of the pump to do this you're going to need a 13mm spanner and all you need to do is take off these four bolts.


And now that we've done that we have complete access to the screw.
Step six.
Next we need to remove the grub screws from this screw, so that we can use them in the other screw. For this you'll need a 3mm Allen key and unscrew two small grub screws.

Step Seven.
The next step's a little tricky you're going to need a 14mm spanner for this.
Essentially we need to hold the motor shaft still while we twist this off there should be some flat parts on this shaft here that you can feel if you can't feel them just spin them around and until you can it's underneath the rubber.

Now we don't need to take this off but we need to make sure we don't damage it. Essentially, just slide it in and then you can unscrew.
Remember this is actually the opposite thread so that it self tightens when it's running.
Step Eight.
Now that we've taken that off, we can put the new one in.
Don't forget to use your 14mm spanner to hold on to the motor shaft and remember it is opposite thread. You want to do this up quite tight, 'cause if you accidentally do the run the motor backwards, it can undo the screw, and then you'll have to take it apart again and put it back together again. Make sure the screw itself is tight, they're both threaded in.
Step nine.
And now you can put these grub screws back in.
All right now that we've done those we're going to put the whole thing back together.
Step 10.
Now we're going to put the main metal housing back on.

Don't forget all the bolts and their spring washers. And just make sure to tighten these back up again - this is the 13mm spanner.

Don't go overly tight - again a lot of this is stainless steel.
Step 11.
And now we're going to put the cable shield back on and the grate.
So you want to put the grate on first.
Then you can grab the part with these tabs and slide them back into the grate and slide it down.

Now we can put the cable shield back on, it just slots in.

If it's a bit tight you want to undo the bottom screws again.
The key is you really do not want to damage the cable in any way.
And then you can put screw the top back in to secure the cable shield.

Step 12.
And finally we want to the pump housing of the screw back in. If this is a little hard to put on it is worth lubricating you can use cooking oil or a bit of dish soap, this just allows the screw to turn again. If it's left for a long period of time without lubrication it can get stuck and it'll start spinning this housing.

So now you can put the top part back on. 
Put in all the spring washers and tighten in the bolts. Try to do this evenly because it's clamping down on that housing. Ideally you want that to be even.
You can use your 10mm socket to tighten this back up.
And with that you've replaced your screw!
Now put it back in the water, test it, and make sure it's working as it should.
If you need spare screws or if you need any more information about the pump at
all, please give us a call: 09 218 5533, send us an email: info@gridfree.store we're always happy to help.


