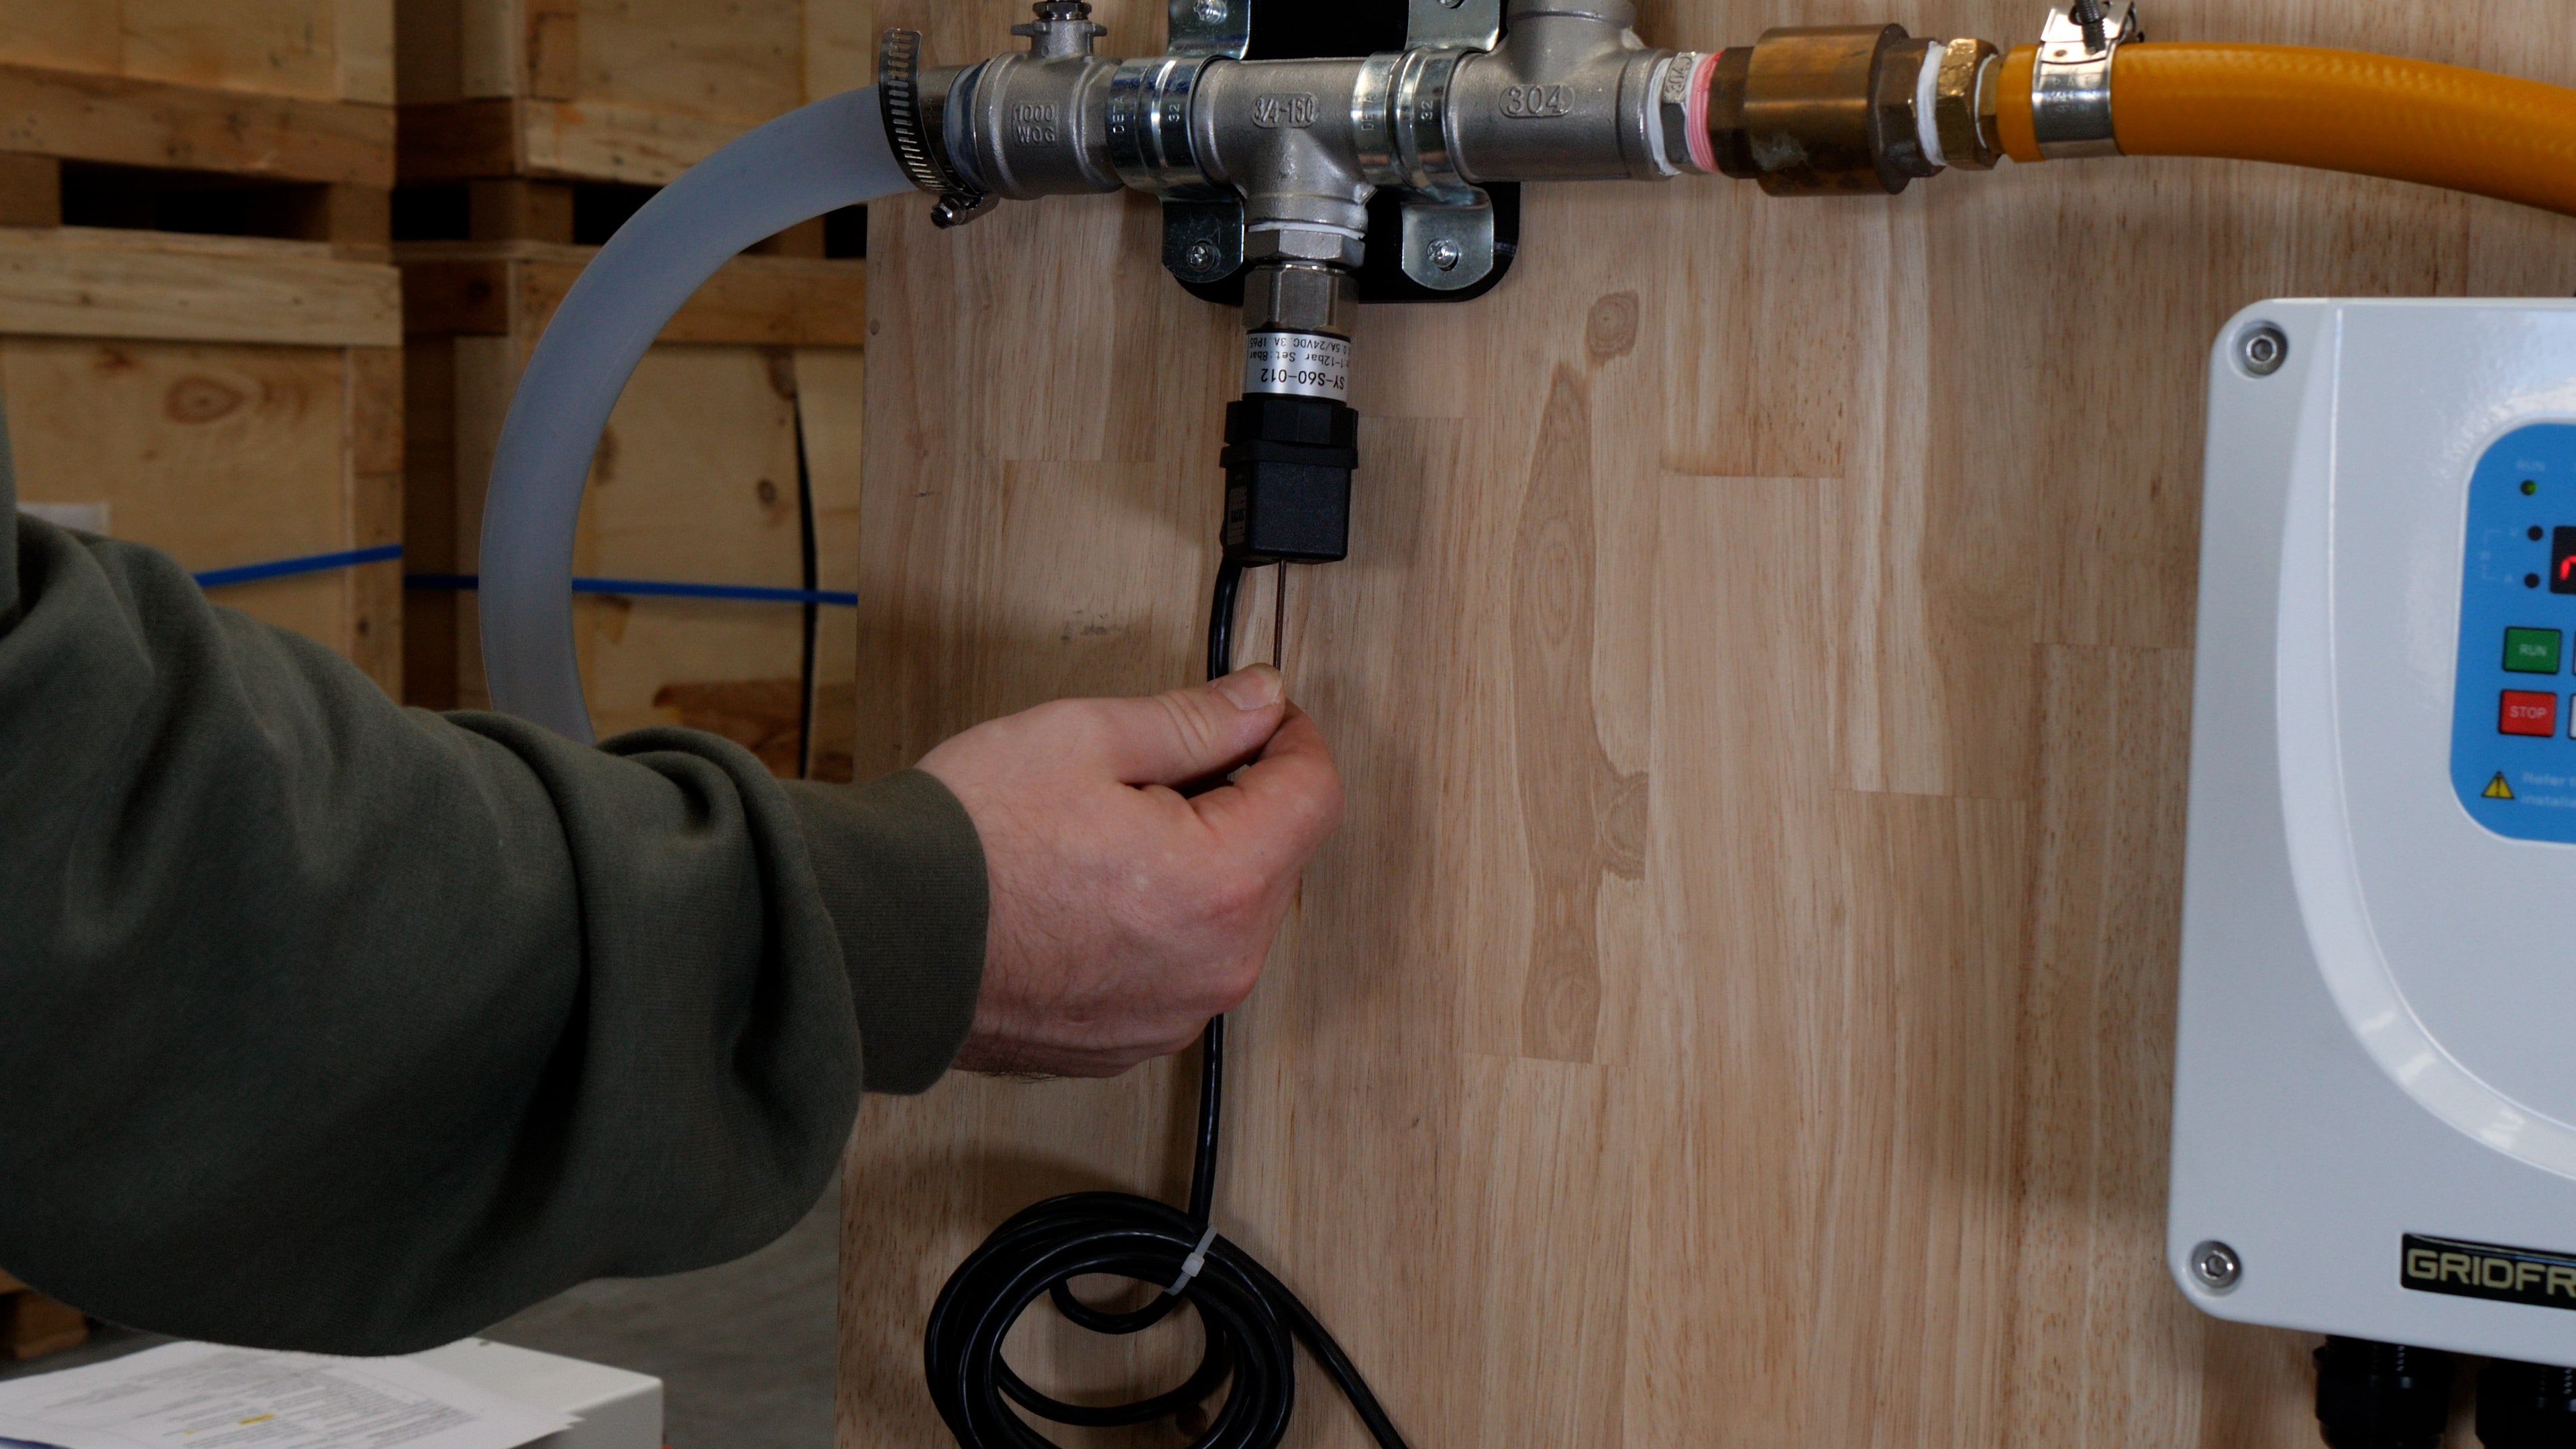
What does a pressure switch do?
Our systems are designed to be automated with the help of a pressure switch. As you pump water it slowly fills your header tank. Once the tank fills to the top (and assuming you have a leveller valve or a float valve), this valve will close, the line will then pressurize as the pump continues running with nowhere for the water to go. Once the pressure reaches the set point, the pressure switch will send a signal to the controller to stop pumping.

When the float valve on the tank opens again and the pressure drops far enough below the set point the pressure switch will signal the
controller to continue and the pump will resume.
Before you begin the calibration you need to make sure:
First, the kit needs to be completely set up. Second, you need to make sure you have the header tank with the pipe run to it and in the header tank you need to make sure you have a float valve that's
going to close when the tank is full. Thirdly, you need to make sure the tank isn't too full yet because we're going to have to run the water into it for a while without the float switch closing. And finally make sure your panels are in complete sun - if it's not full sun and it's not running at full speed the calibration will be incorrect.

Now we can begin the calibration.
The first step is to let your pump run at full speed under full sun and note down the operating pressure for your reference. This is the actual operating point of your pump and you'll be able to see roughly how much it's going to be pumping on the pump chart.
Step two:
You'll need to unscrew the bolt on the top of your pressure switch and insert the provided Allen key.

Step three:
Now while the pump's running turn the Allen key clockwise until the controller turns off the pump. Once you've done this stop and turn it
back anticlockwise about half to one turn. This will set the pressure at the operating point just above it.

Step four:
Restart the pump by pressing stop and start. If this does not restart it you might need to turn off the PV isolator to turn off the entire controller. Once it's off you can turn the PV isolator back on and press run.

Step five:
Now you need to confirm that the pump will run at full flow without the pressure switch triggering. If it does trigger, all you need to do is turn the Allen key a little bit more anticlockwise and try again. And that's all you need to do to calibrate the pressure switch, so you can put it all back together after that.

Step six:
Now we need to test that it's working as it should. Manually close the float valve on your header tank and ensure that the pump stops. Release it and see if it starts again, it might take a little while because it does have a timeout. Do this a couple times just to confirm all things are working and you're done!

Quick tips:
Once you finish the calibration and you close the line, if it does start to drop in pressure slowly it might mean you have a leak and you need to double check some of the fittings.
If the calibration is not done in full sun the pump may not reach full operating pressure, which could cause the calibration of the pressure switch to be too low.
If the operating pressure seems higher than you expected you may have a choke point somewhere in the system. Usually this is at the tank float valve. Some of these are not designed for fast flow
and can greatly reduce your pumping speed. If this is an issue please replace it with a valve that is designed for a fast flow.
All of this information is available in the manual that comes with this kit but if you do get stuck along the way on any of these steps get in touch, or give us a call! We're always happy to help!


