There are a few different connectors between different components in our kits, so here a couple tips and tricks to make sure everything is done correctly.
Bolts
These connectors are on the batteries and MCCB, used with cable eye lugs pre-crimped onto the cables. When connecting the lug to the battery, remove the bolt from the battery, keeping the washers with it, then thread the lug on the bolt and replace the bolt into the battery. The spring washer should be closest to the bolt head, then the washer, then the lug(s). Ensure the lug is flat against the battery, with nothing in between the battery and the lug (except for another lug), as these will interfere with the connection. Tighten the bolt down firmly using insulated tools to prevent accidental short-circuiting.

Screw connectors
These are found on the inverter, charge controller (or hybrid inverter), and the circuit breakers. To connect these, strip the end of the cable and insert the bare end in the connector cavity, and retighten the screws down firmly to ensure cable will not fall out. Make sure enough of the cable is stripped so that none of the insulation is in contact with the connector, as this interferes with the connection. Aim for the bare wire to be roughly flush with the plastic casing. If the cable is stripped too far, simply cut the ends so that only a tiny amount cable is visible outside the connector, as cables stripped too far run the risk of touching and short-circuiting.

MC4 connectors
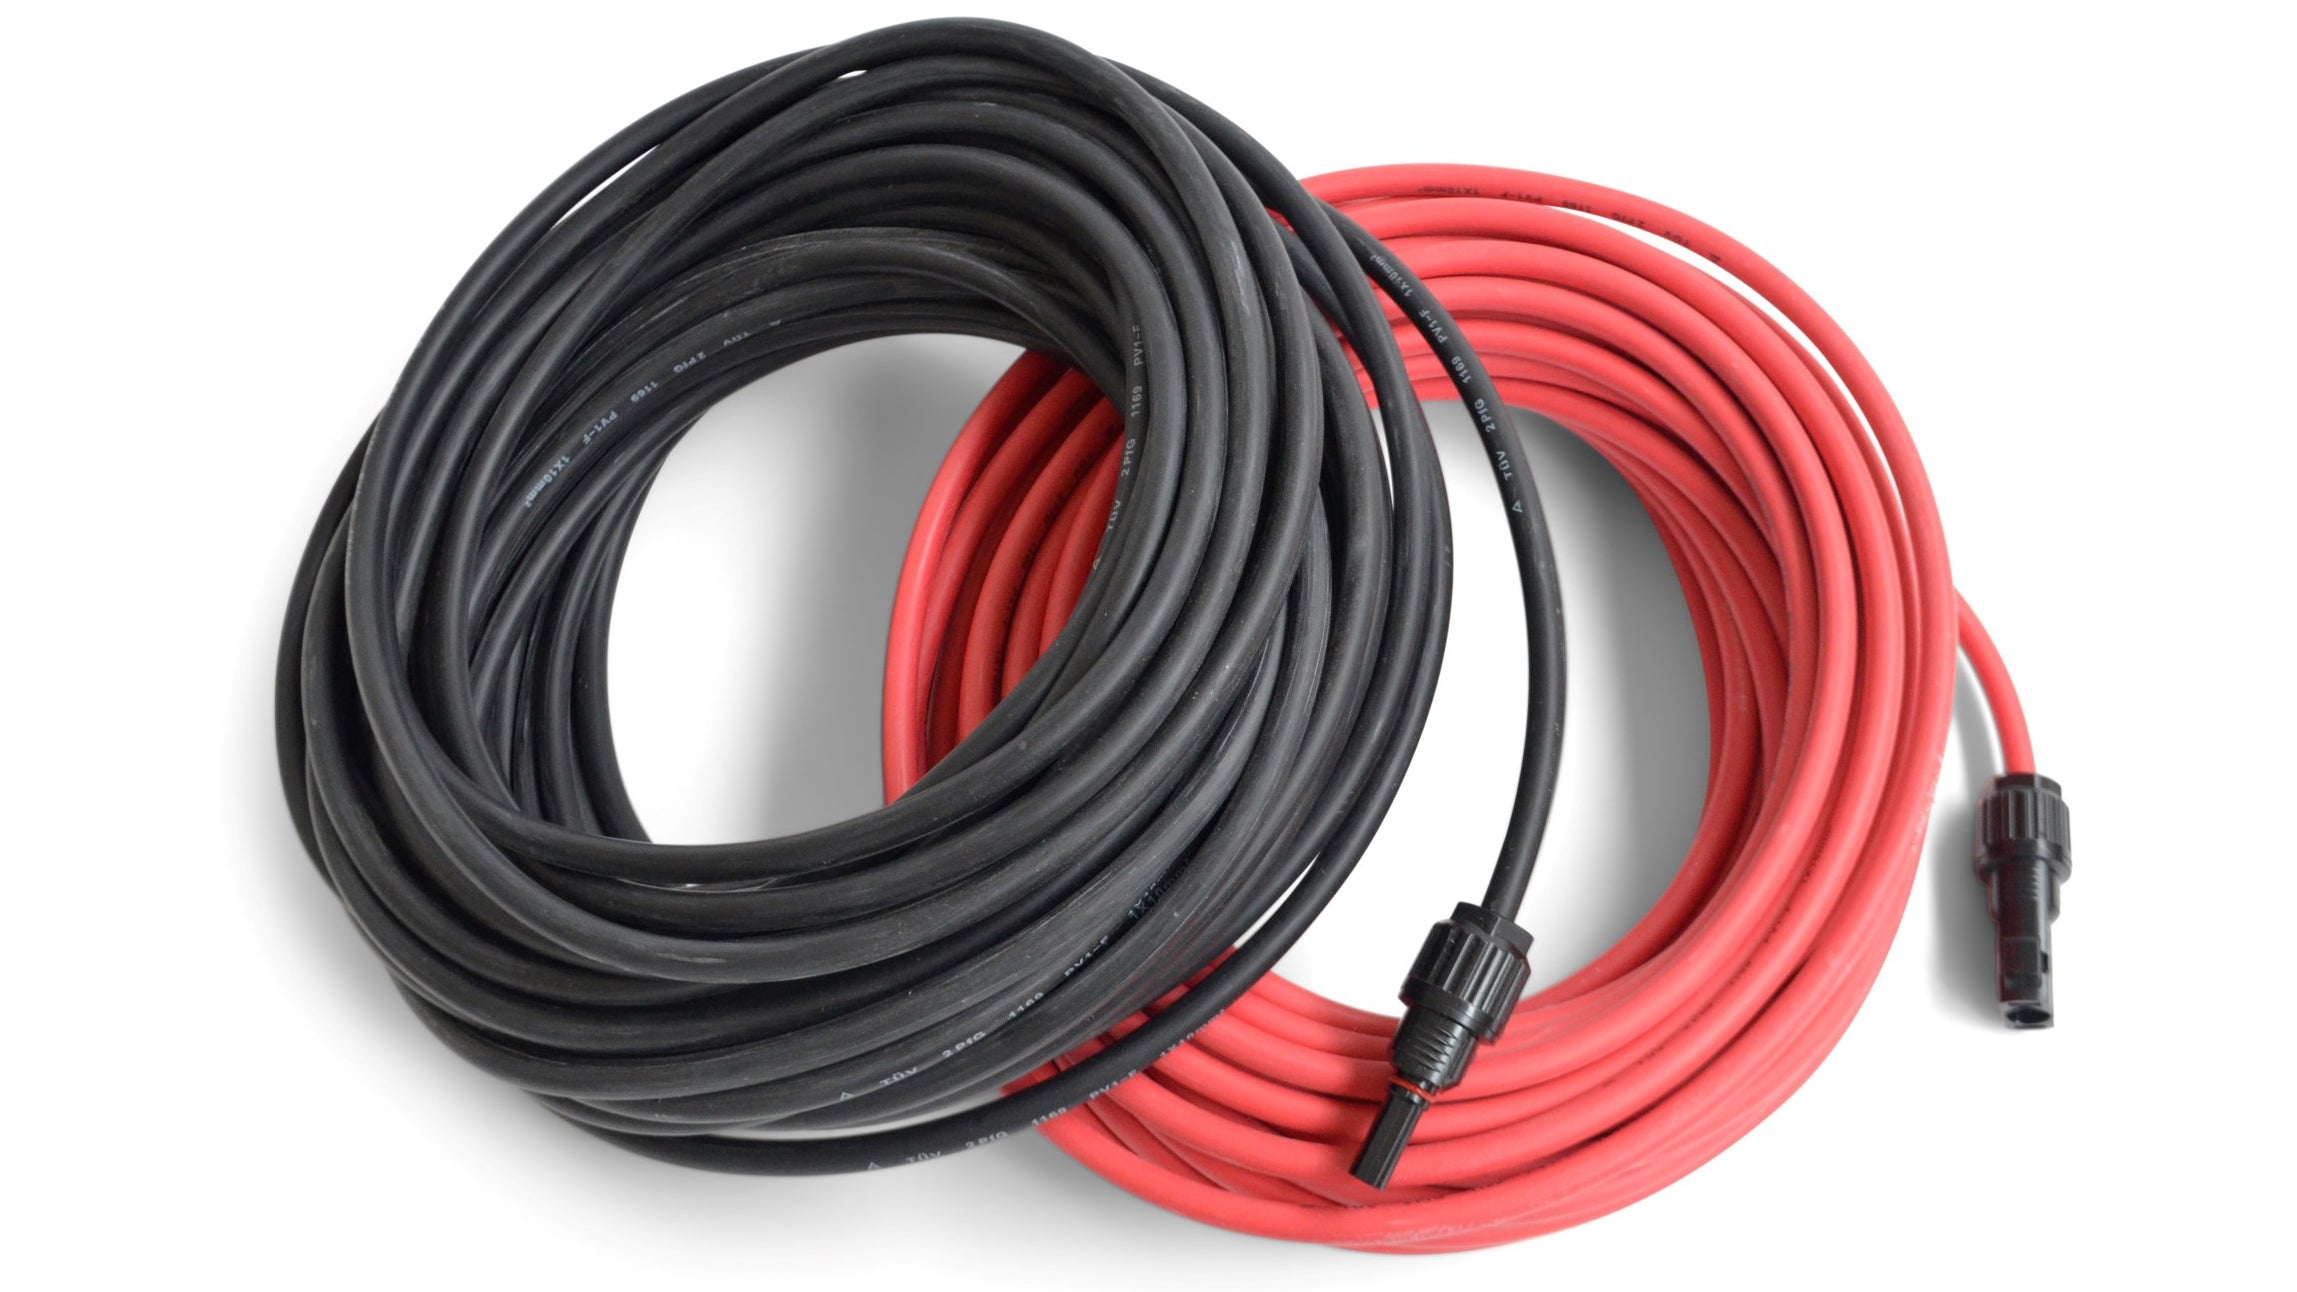
These are found on the solar panels and pre-crimped on the PV cables. These are a two part (male and female) waterproof connection, that simply clips together. They do require a special tool to unclip them, however anything thin and rigid can be used to press the clips in to release the connection. Easy!
If you need to crimp them yourself, we have a handy video here:
If you're having any issues with the connections in your kit, feel free to get in touch and we can help put you right!


